Bloomin' Chicken Coop
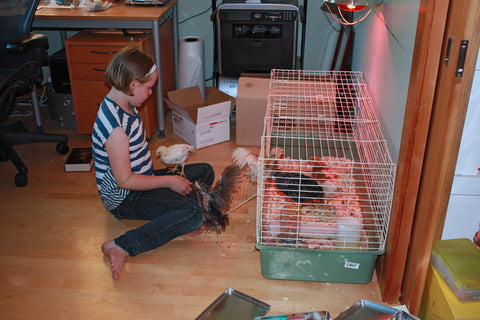
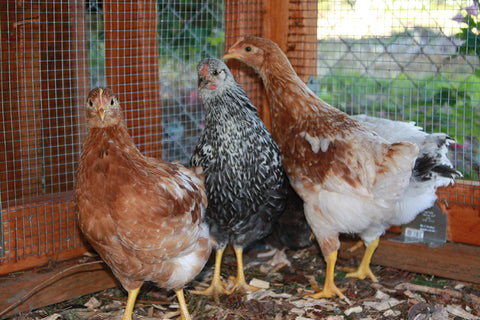
You may remember that I posted few weeks ago about our venture into urban chicken raising and the cute little puffballs that got us to finally commit. Well, they've been living in a crate in my office since then, growing like crazy, and stinking to high heaven.
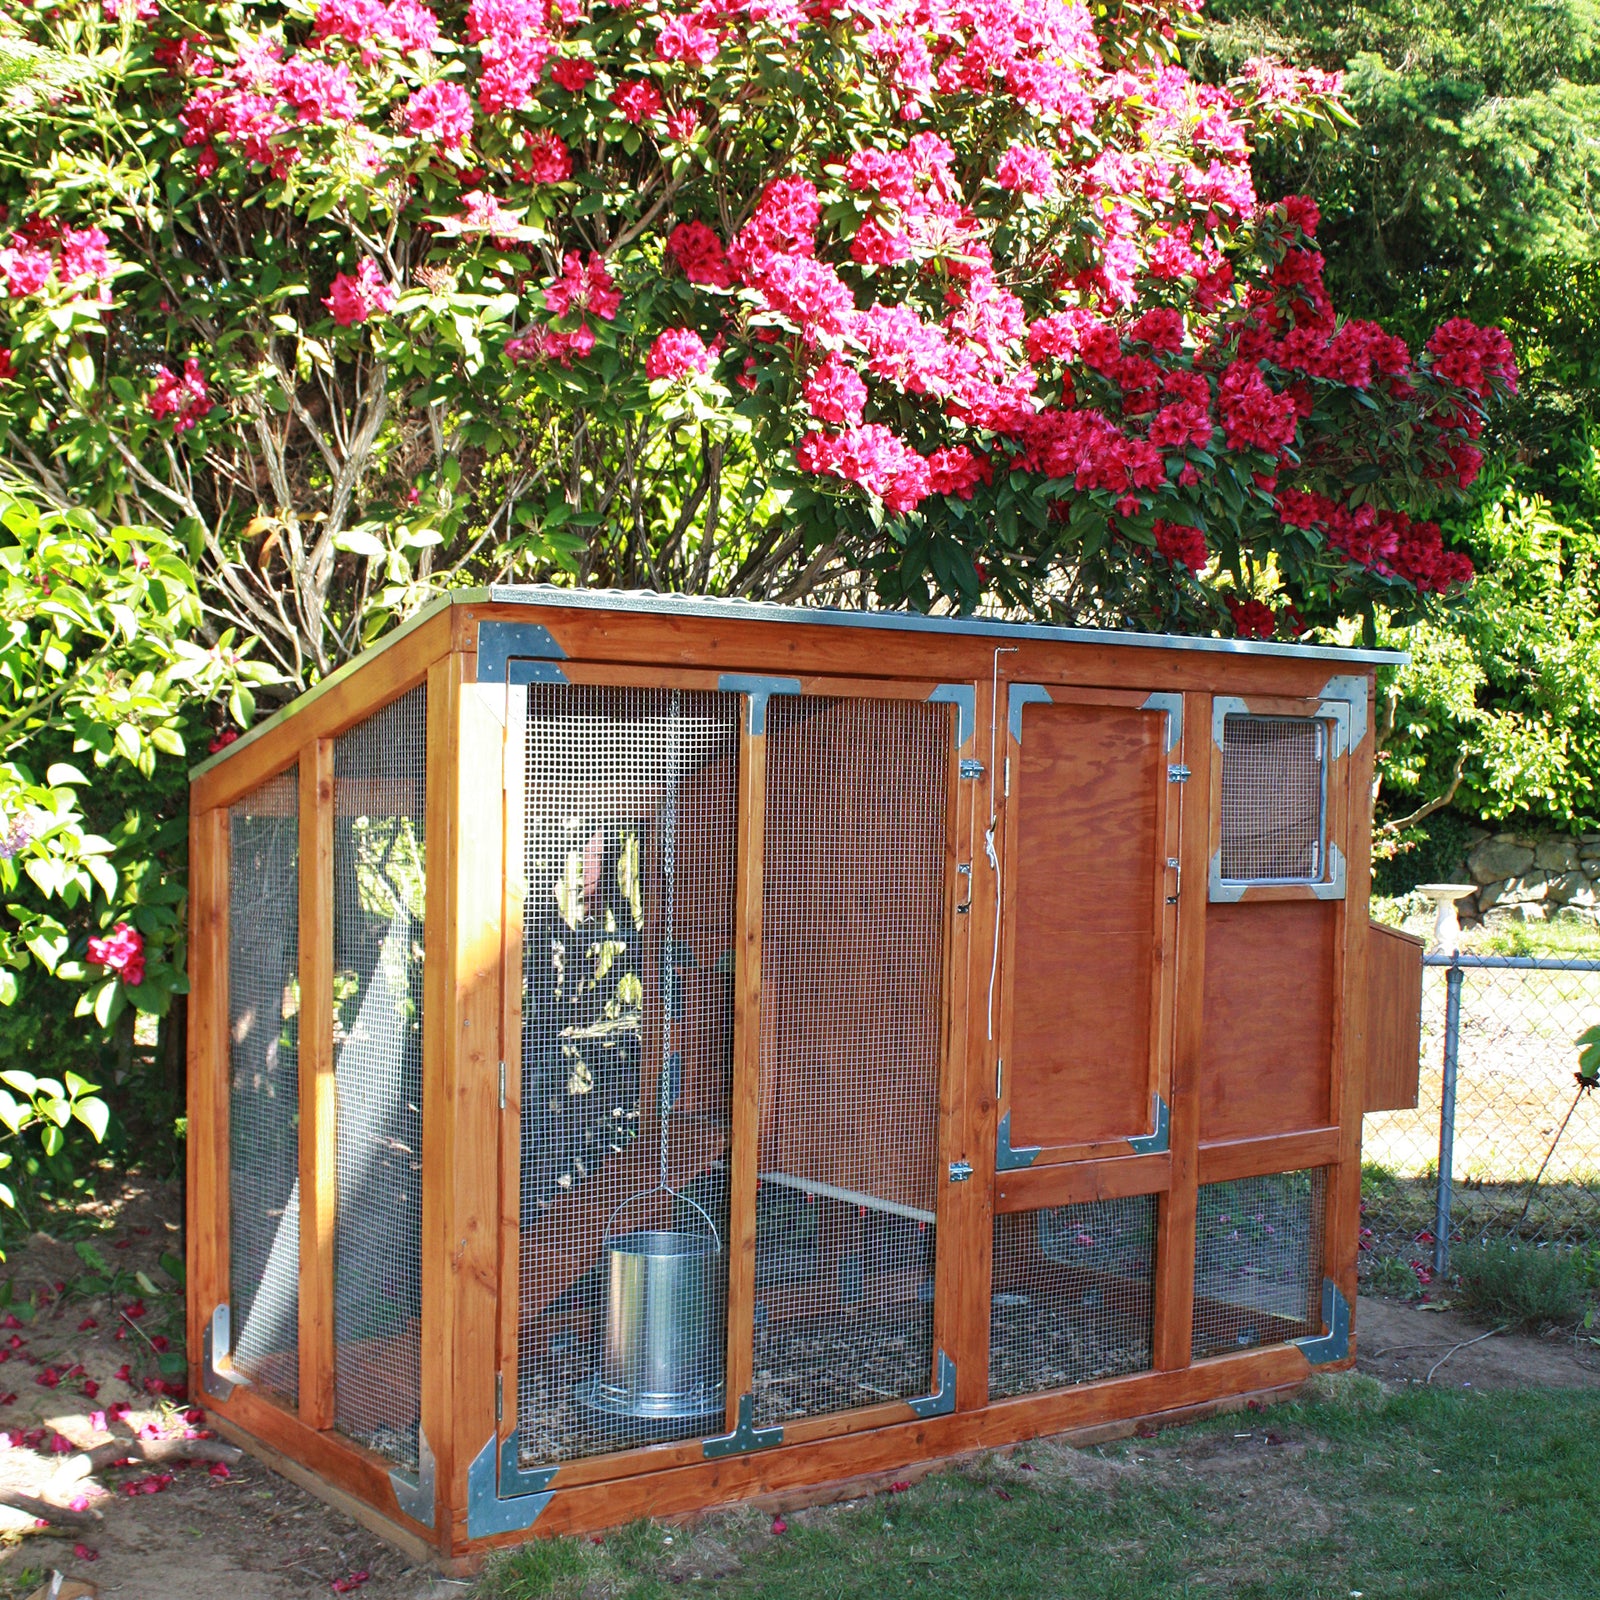
We've been very busy trying to get a coop built for them outside and I'm happy to report that it's finally done!
We studied lots and got ideas from a great website called Backyard Chickens. Many of the ideas and practical details for our coop came from others that we saw on this site. The following is a step-by-step summary of what we did:
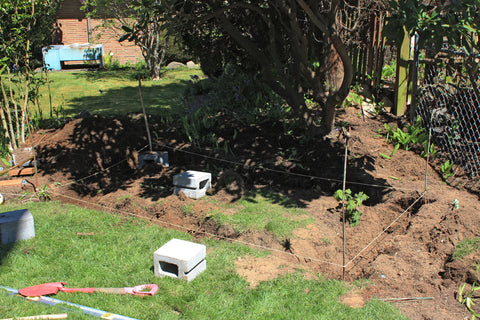
First we decided where to place the coop, which is under a huge rhododendron bush (almost a tree) in the back corner of our yard. It gets sun and shade at just the right times of day. We plotted out the space and dug a trench just slightly larger than the perimeter of the coop.

We used treated wood and cinderblocks for the foundation. We attached galvanized wire mesh to each of the four base boards.

We set the treated boards on top of the cinderblocks and leveled everything with the help of pea gravel. The wire mesh looks sort of like a bedskirt that surrounds the foundation, under the soil. It keeps predators and pests like raccoons and rats from being able to dig under the coop and get to the chickens or the eggs. We also tossed a goodly amount of pea gravel in around the base to help keep any diggers out.
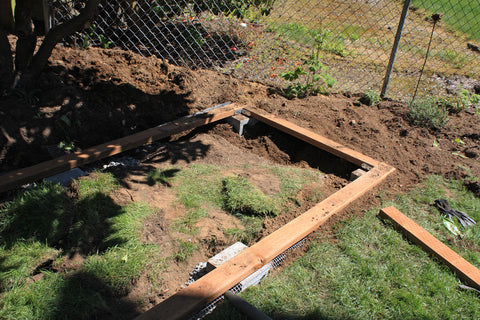
Then we filled in the soil all around and leveled the ground that was inside of the coop foundation boards. This made a nice even, clean surface for us to fill later with bark and wood chips.
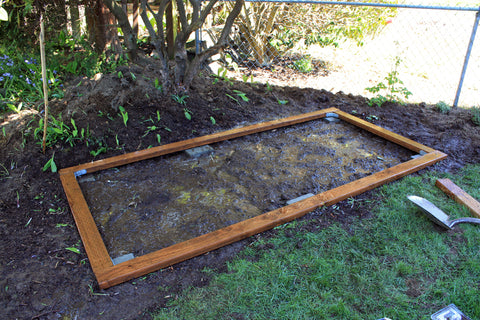
Next I kept a hose running over the whole thing to make it nice and muddy. This allowed me to continue squishing soil down into all the cracks and crevasses and pack everything in tight. I did this whole bit barefoot. It was pretty fun, actually.

Now we could get started on the framing. My husband built each of the four sections separately and attached the wire mesh while they were lying flat on the ground. I think this was much easier than trying to do it after they went up. The one thing we regret was that we didn't do the wood staining before the mesh went on. That became a lot harder to do later and doesn't look as clean as we would like, but oh well. These aren't royal chickens or anything.

We decided to use metal brackets for many of the joints. This was partially because it's easy, and partially because we really liked the way it looked with a mixture of wood and metal together. It cost us more, but I suspect this may be the only chicken coop we'll ever build, so the splurge was OK with us.
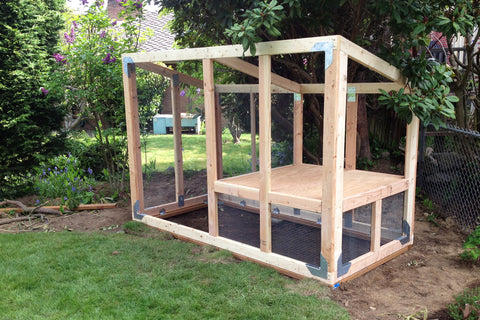
Here's a picture of all four walls framed. Next came the floor for the interior portion of the coop, followed by the solid walls that enclose the roost and nesting area.

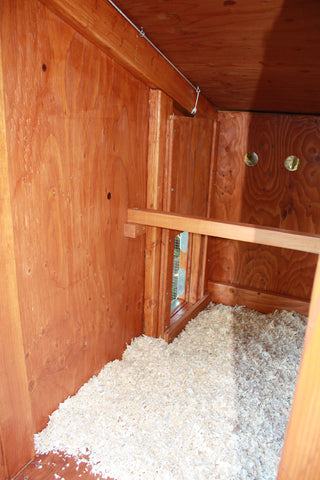
We added the pass-through doorway and some ventilation holes on the back side. Those holes were later covered with wire mesh.

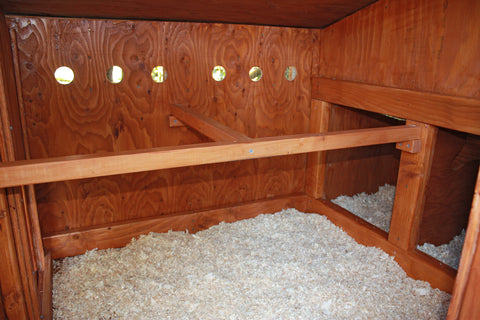
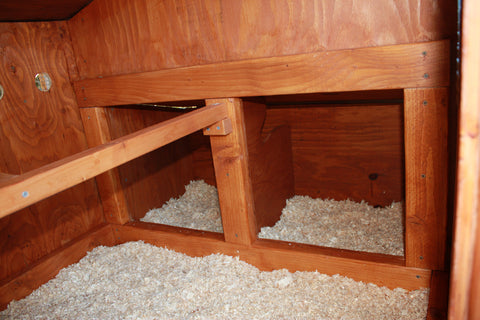
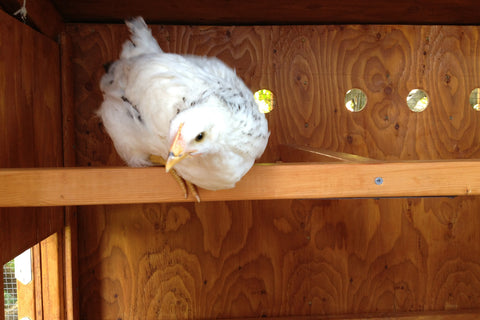
This shows the nesting boxes that hang off the back end. We later added trim on the inside so that the chickens have to jump over a little ledge to get into their egg-laying space. Apparently they like it dark and cozy and separate from the rest of the coop area.

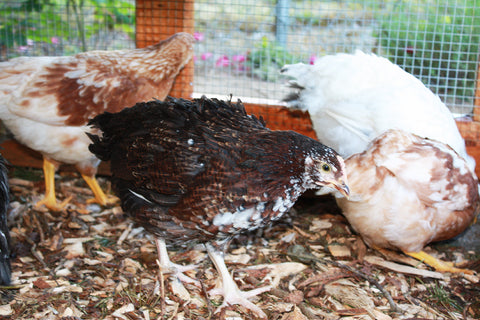
By this time in the process they were getting quite large. Did I mention that they smell bad? Sheesh. I needed them out of the house in a bad way.

Here you can see the finished front with both doors and a window, which is covered with wire mesh. I read that chickens need lots of ventilation because they produce a ridiculous amount of ammonia gas. No kidding!

Let me just go on public record here and say that my husband's carpentry skills impressed me quite a bit during this project. We had a great time working together. The kids were a help too.

The doors swing beautifully and the whole thing is incredibly solid. Nothing cattywampus here!

The last steps were to add the galvanized metal roofing and a nipple-watering system underneath in the walking area, then stain the whole thing.

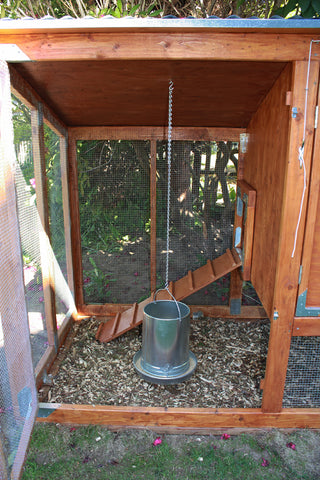

You can see the little pull string attached to the pass-through door. We can easily open and close it from outside the coop this way.

You might also be able to see in this picture that we have a piece of plexiglass with a foam "bumper" hot-glued on around its edge. This can be slipped into the window opening if the temperature is too low, but still lets in light.

All we have to do to gather eggs is lift the nesting box lid and reach inside. That strange edge detail was the result of trying to use some scrap wood, not some other practical purpose. Maybe the hens will be able to visit through the opening while they're busy laying though. I bet chicken chatter increases egg productivity.
Absolutely love the coop!! You guys did a great job! I’ve been searching the internet for ideas and came across yours, it’s perfect.
@Christina Thanks! Ours has held up quite well but we haven’t experienced any termite issues. It needs to be re-stained, but that’s about it for maintenance. It does sit under a huge rhododendron bush/tree so if there’s significant rain the branches protect it and the roots soak up the water quickly. The ground is pretty dry there.
Hi – I am planning my coop, and I’m struggling with a foundation idea. I wanted to do something similar to yours, but I worry that the wood being close to the ground will not be good long term. I built a raised box with cedar 3 years ago since cedar is rot/insect resistent, but I now need to replace it already. Termites have chewed threw it. How has your coop held up? It’s beautful!
A few years too late.
Today I discovered your post about how you built the coop. I am in the process of building a coop (probably the only one I will ever build as I am 68 years old); I certainly wish I had seen yours first. I love the corner brackets. They are most excellent adding both style and strength. Everything about your coop is fine. Hope the chickens are happy and healthy.
Leave a comment