How To: Autumn Leaf Cards
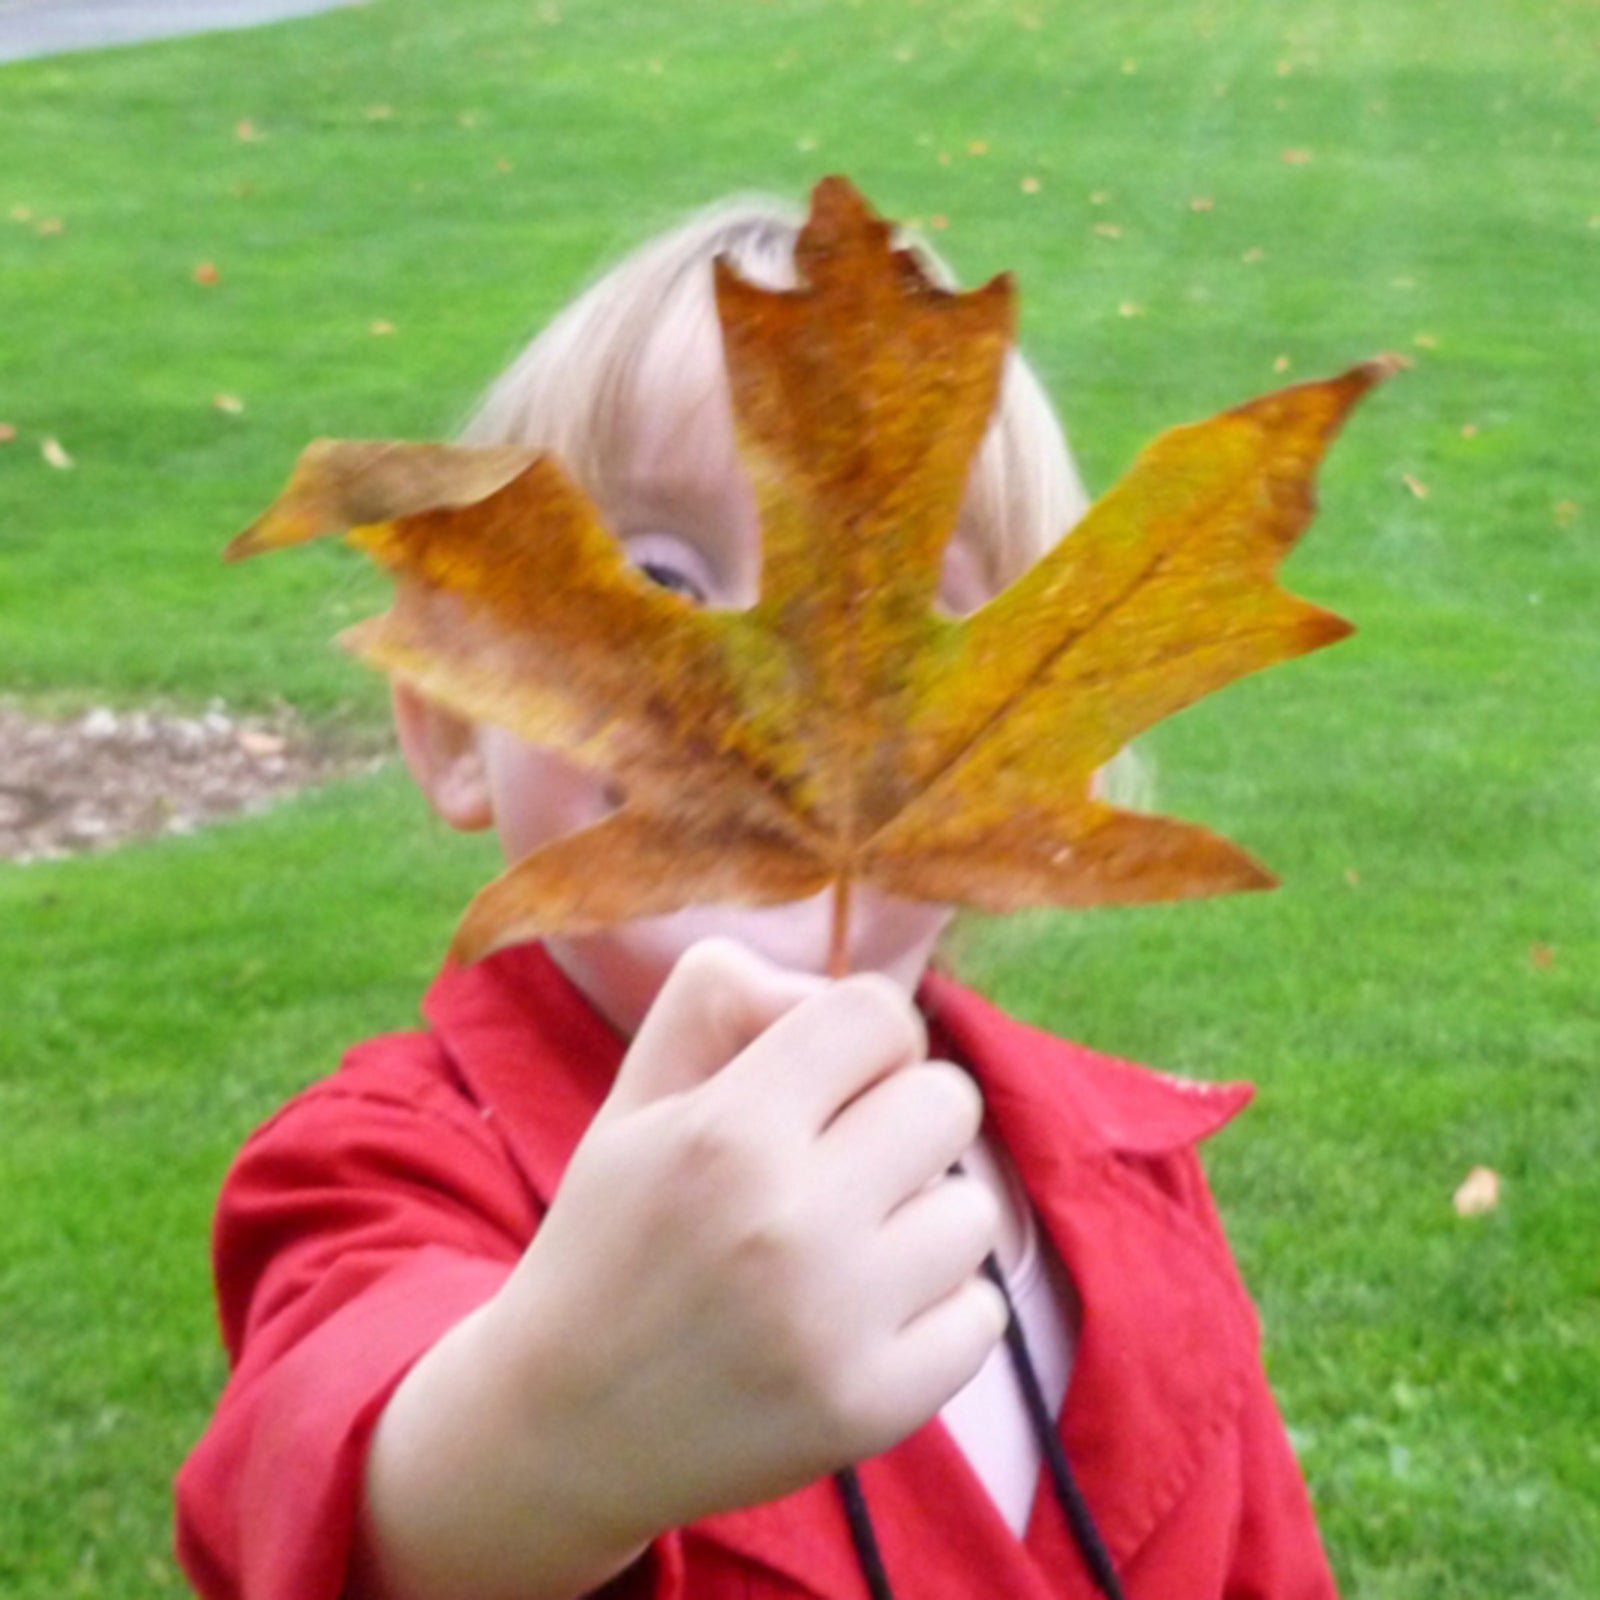
The smell of a fresh box of crayons takes me instantly to crisp fall days. There's no better time to repurpose aging crayons
into another iconic sign of fall.
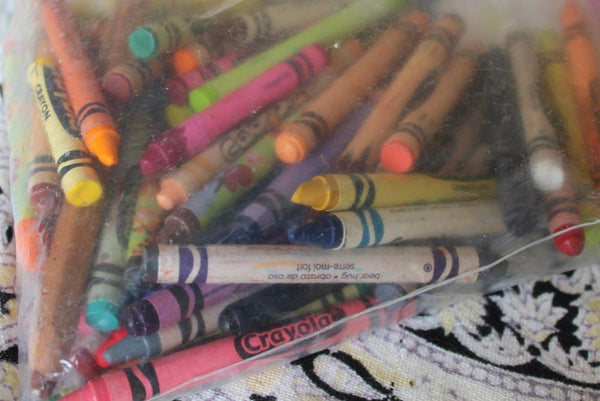
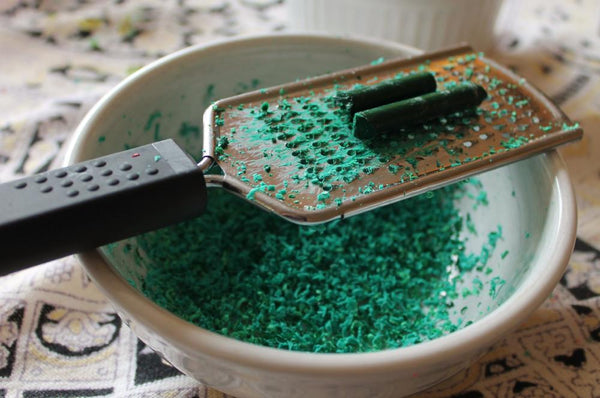
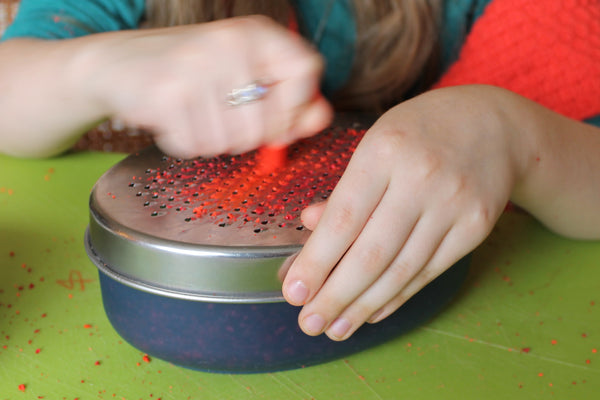
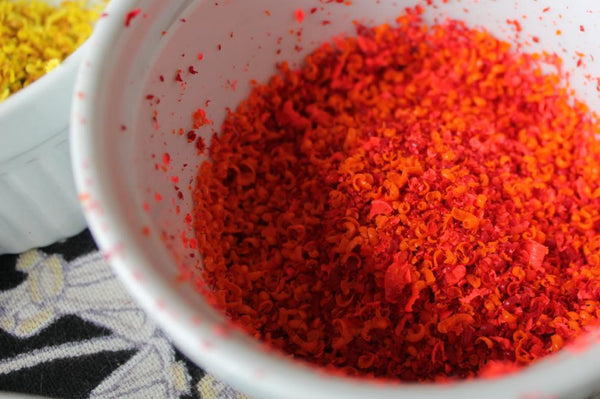
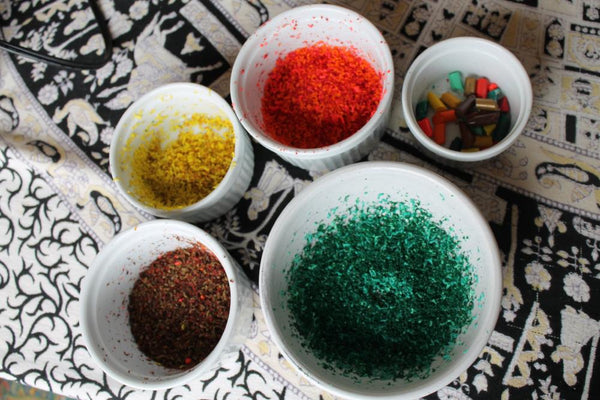
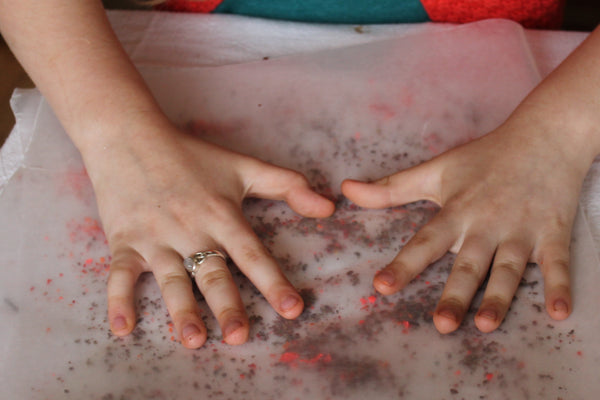
First, gather, peel, and grate your blunt and broken crayons.
It's both satisfying and convenient to keep your color families separated. (You can save the bits too short to grate safely for another project.)
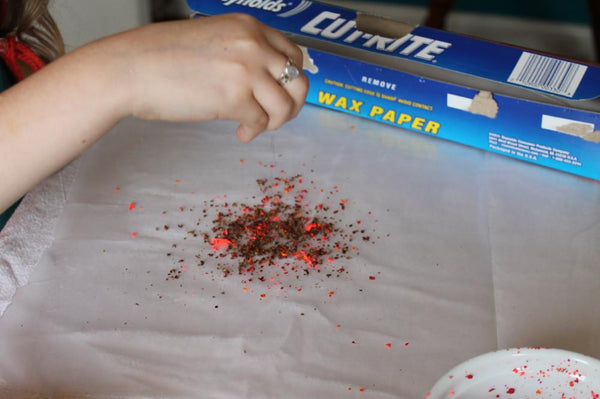
Next, tear a length of wax paper, fold it in half, then reopen it. Sprinkle your colors all over one half, and refold.
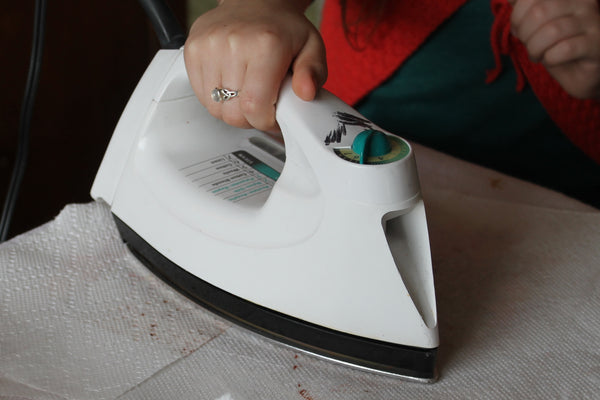
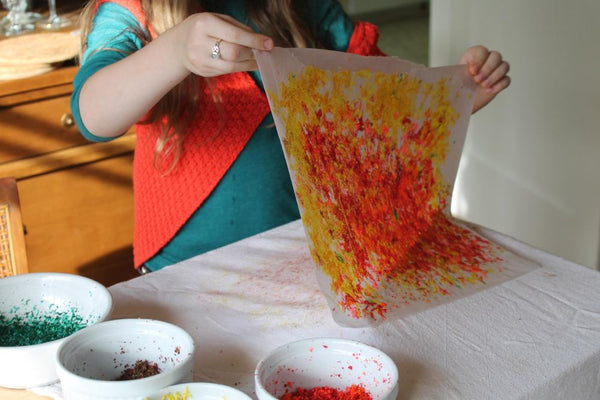
Phase three is my favorite. Using an old iron, with an old towel below your wax paper and paper towels above it, melt the grated crayons. This will probably be a little smokey and moderately messy: If you don't have a craft iron, be sure to use extra layers between your iron and the project! Once all the bits have melted, peel up the paper and see what you've made.
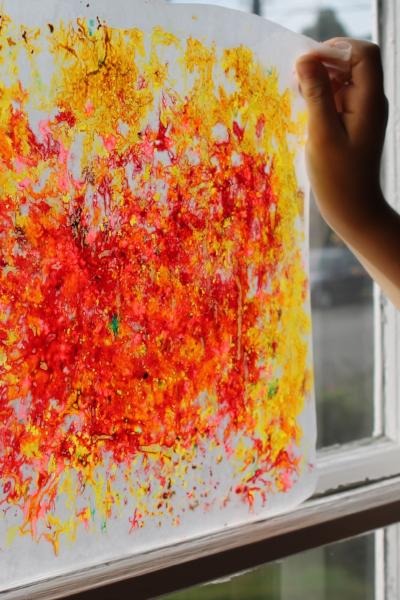
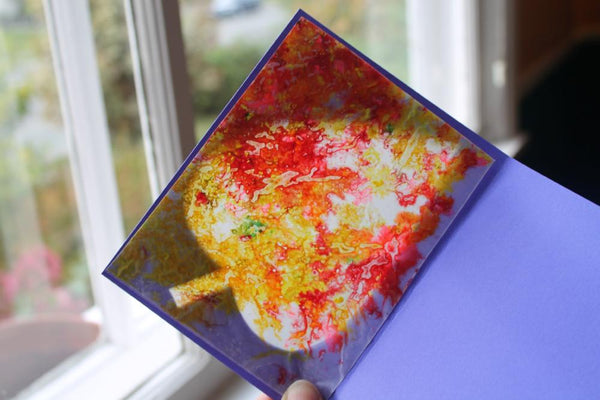
Holding the wax paper against a window provides a pretty stained-glass effect and allows you to see all the cool patterns the colors have made.
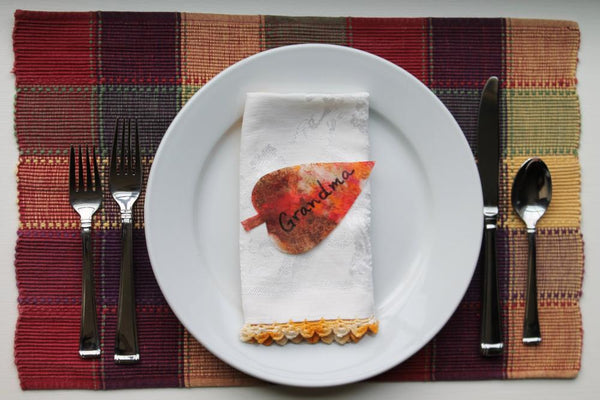
At this point, you could simply cut out leaf shapes from the prettiest sections for place cards or other seasonal decorations.
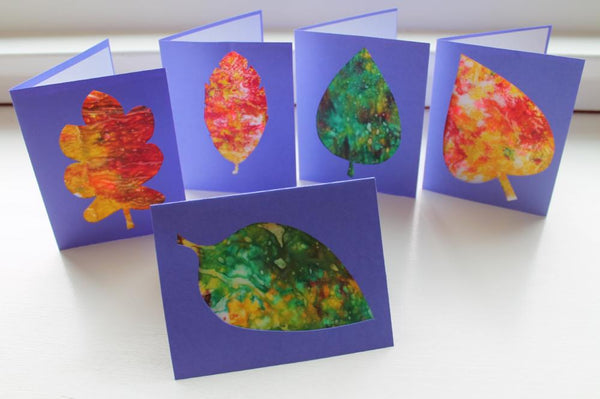
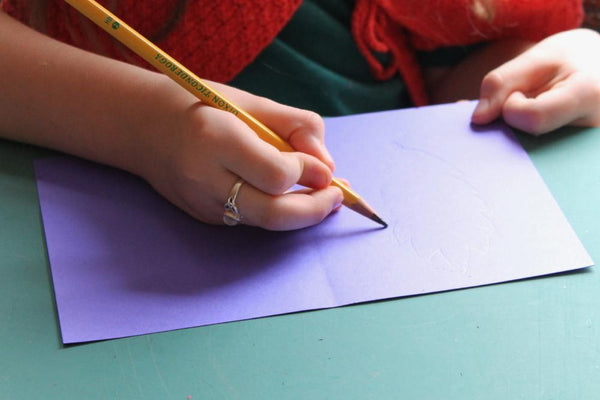
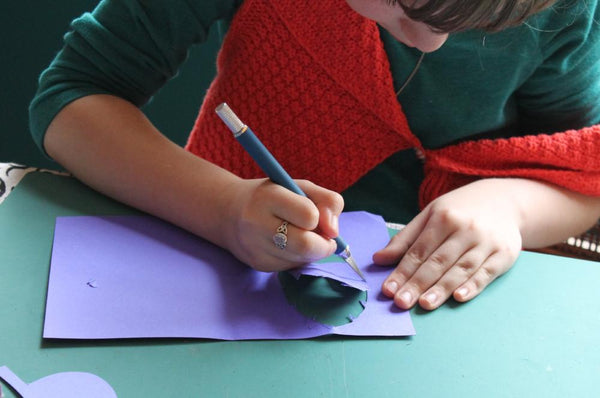
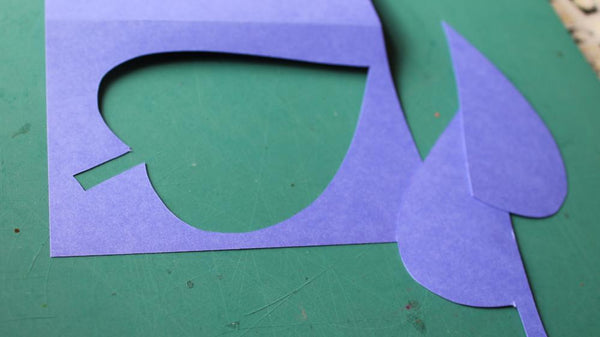
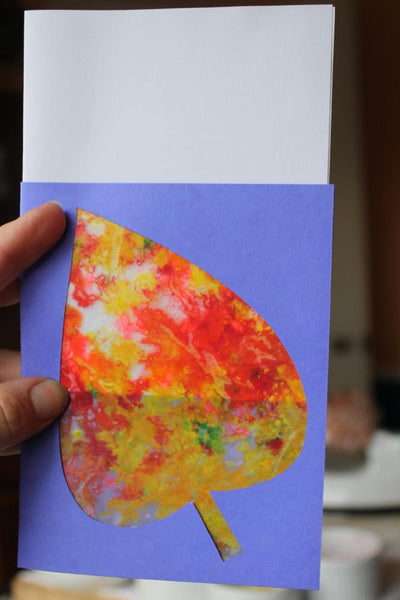
Taking the project to the next level is pretty simple, too. Draw a leaf on a blank note card, cut it out, paste a favorite square of your crayon-ed wax paper on the inside . . .
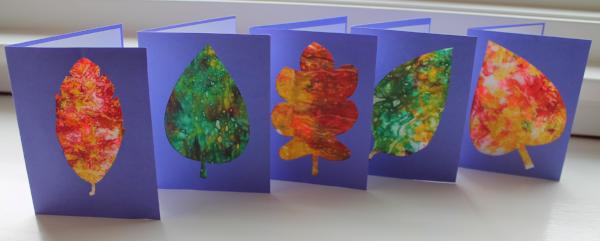
and you've got a beautiful autumnal card! If your card stock is dark, pasting plain white paper inside will keep the color effects bright.
My excited daughter now wants to make egg cards for Easter and flower cards for summer. The scent combination of crayons and fall leaves will remain my forever favorite.


Leave a comment