How to: Marker Art Banner
I have an amazingly fun (and pretty easy) kid project to share. It was inspired by a number of different creations I've seen in the blogosphere over the past year that involve permanent markers and rubbing alcohol. You might think that permanent markers would not be the best choice for a kids' project, but actually they're much less messy than paint and easier for little hands to manipulate.
We were making a banner for our church sanctuary, but the same concept can be used with just about any theme and fabric finishing technique. All you need is:
-
white 100% cotton fabric
-
permanent markers (like Sharpies)
-
rubbing alcohol
-
a spray bottle and/or small dropper
-
a plastic drop cloth to keep your surfaces clean
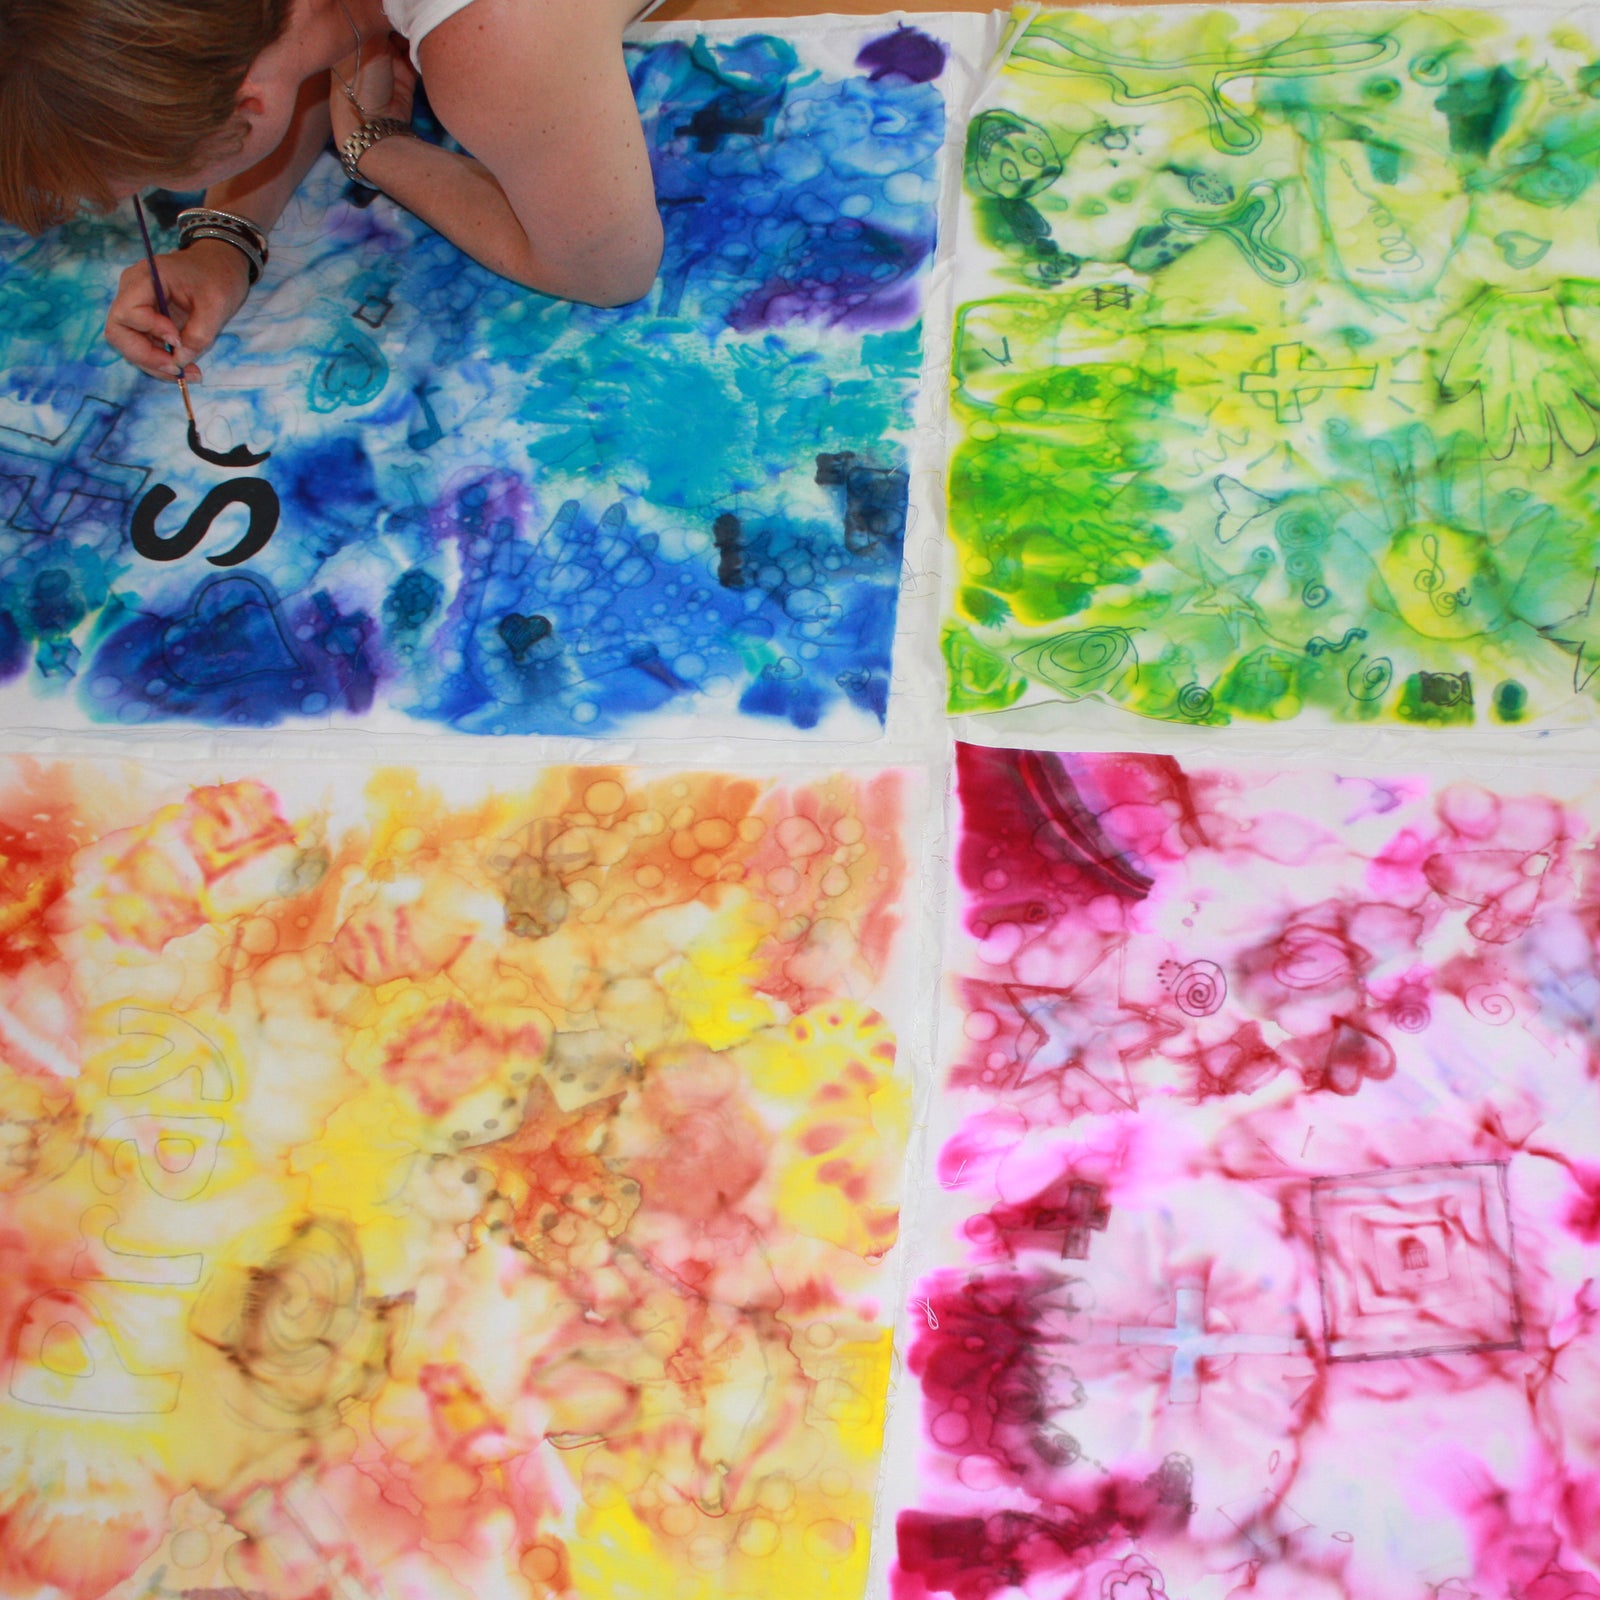
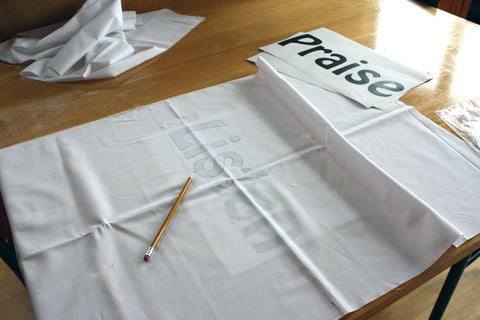
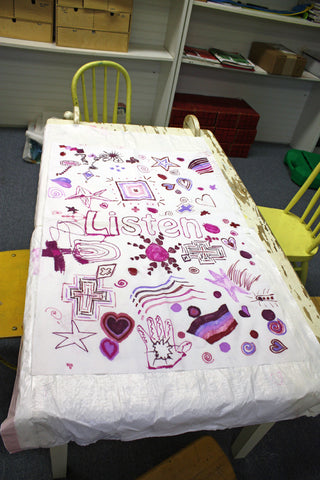
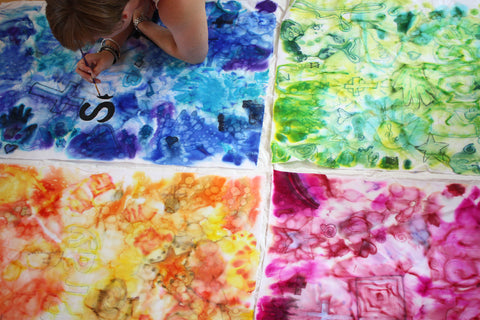
Our banner design called for words as the centerpiece for each panel, so I printed them in large, bold font and traced around the outline of each letter in dark pencil before we started decorating with permanent markers. We tried to avoid the pencil area with the markers, so we would be able to see it easily later.
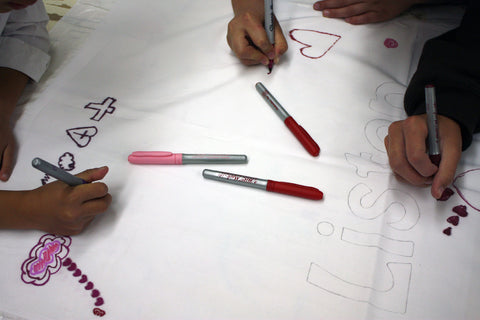
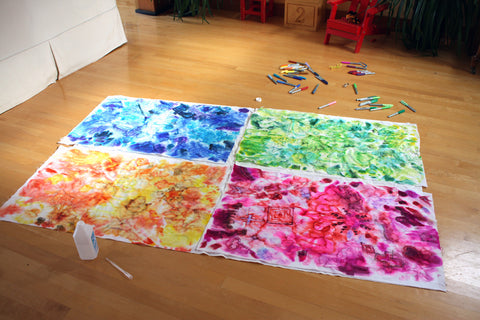
Then the kids could get to work. Each of the four panels of our banner was also dedicated to a certain color family, so I pre-sorted the markers and only gave the kids the ones I wanted them to use for each panel. They could draw or write whatever they liked, at whatever angle or scale they wanted. For our project, the kids tried to draw pictures that were in some way connected to the word theme for each panel.
This is a great activity for the youngest as well as the oldest kids (ours were 6-13 years old) because there's no "right" way to do it...and it doesn't really matter how great an artist you are anyway. It's very egalitarian.

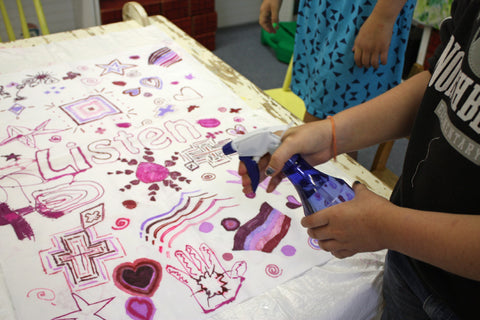
Next we took a spray bottle and filled it with the rubbing alcohol. The fabric panel was laid on top of a plastic drop cloth (actually an old Twister mat), to protect the table underneath.
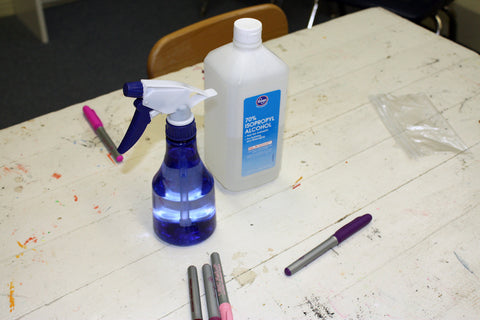
We sprayed and sprayed, until all of the fabric was saturated with rubbing alcohol and all of the artwork started to bleed together. The alcohol is doing two different things here. It's releasing the permanent marker ink and it's pulling (wicking) the moisture to the dry parts of the fabric, bringing the color with it. For this reason, you can really change the look of your artwork just by spraying the alcohol differently: concentrated in spots, evenly around the whole thing, starting from the inside out, starting from the outside in, etc. It's fun to experiment.

Once you've sprayed it, you need to let the color spread and dry overnight. We went through this process several times, each time the white spots filled in more and the colors wandered further into their neighbors' territory. We did need to add a few swirls and polka dots for a little extra color later in the process in areas where the kids hadn't drawn anything, so that everything was colored.
We decided to try an additional rubbing alcohol technique later in the process as well. Using a pipette, we dripped rubbing alcohol all around the fabric, leaving raindrop-like splashes in the color pattern. I liked the effect.
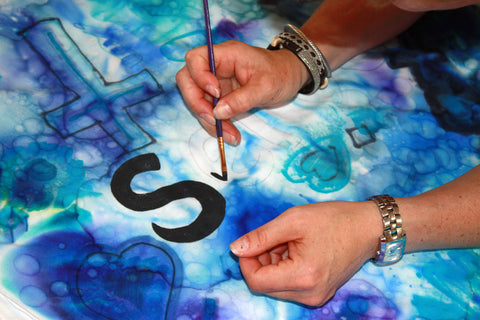
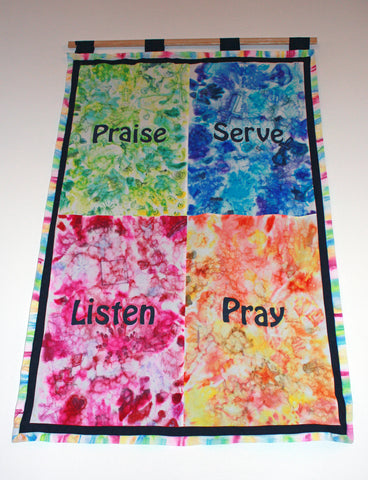
Once it's totally dry, you can add fabric paint for any non-bleeding parts of your design. This is where I painted over the pencil mark outlines to make my letters.
I sewed them all together and added a border and hanging loops. It now graces our church sanctuary for this Lenten season. And the church's children are its proud creators!
Great project! I am a seamstress that makes Praise and Worship Banners among other things. I think I want to uses your idea for next years vacation. I’m thinking of having each child choose a word or phase that I’ve selected and have them choose their color marker. This sounds like fun waiting to happen.
Thanks,
Vern
Leave a comment