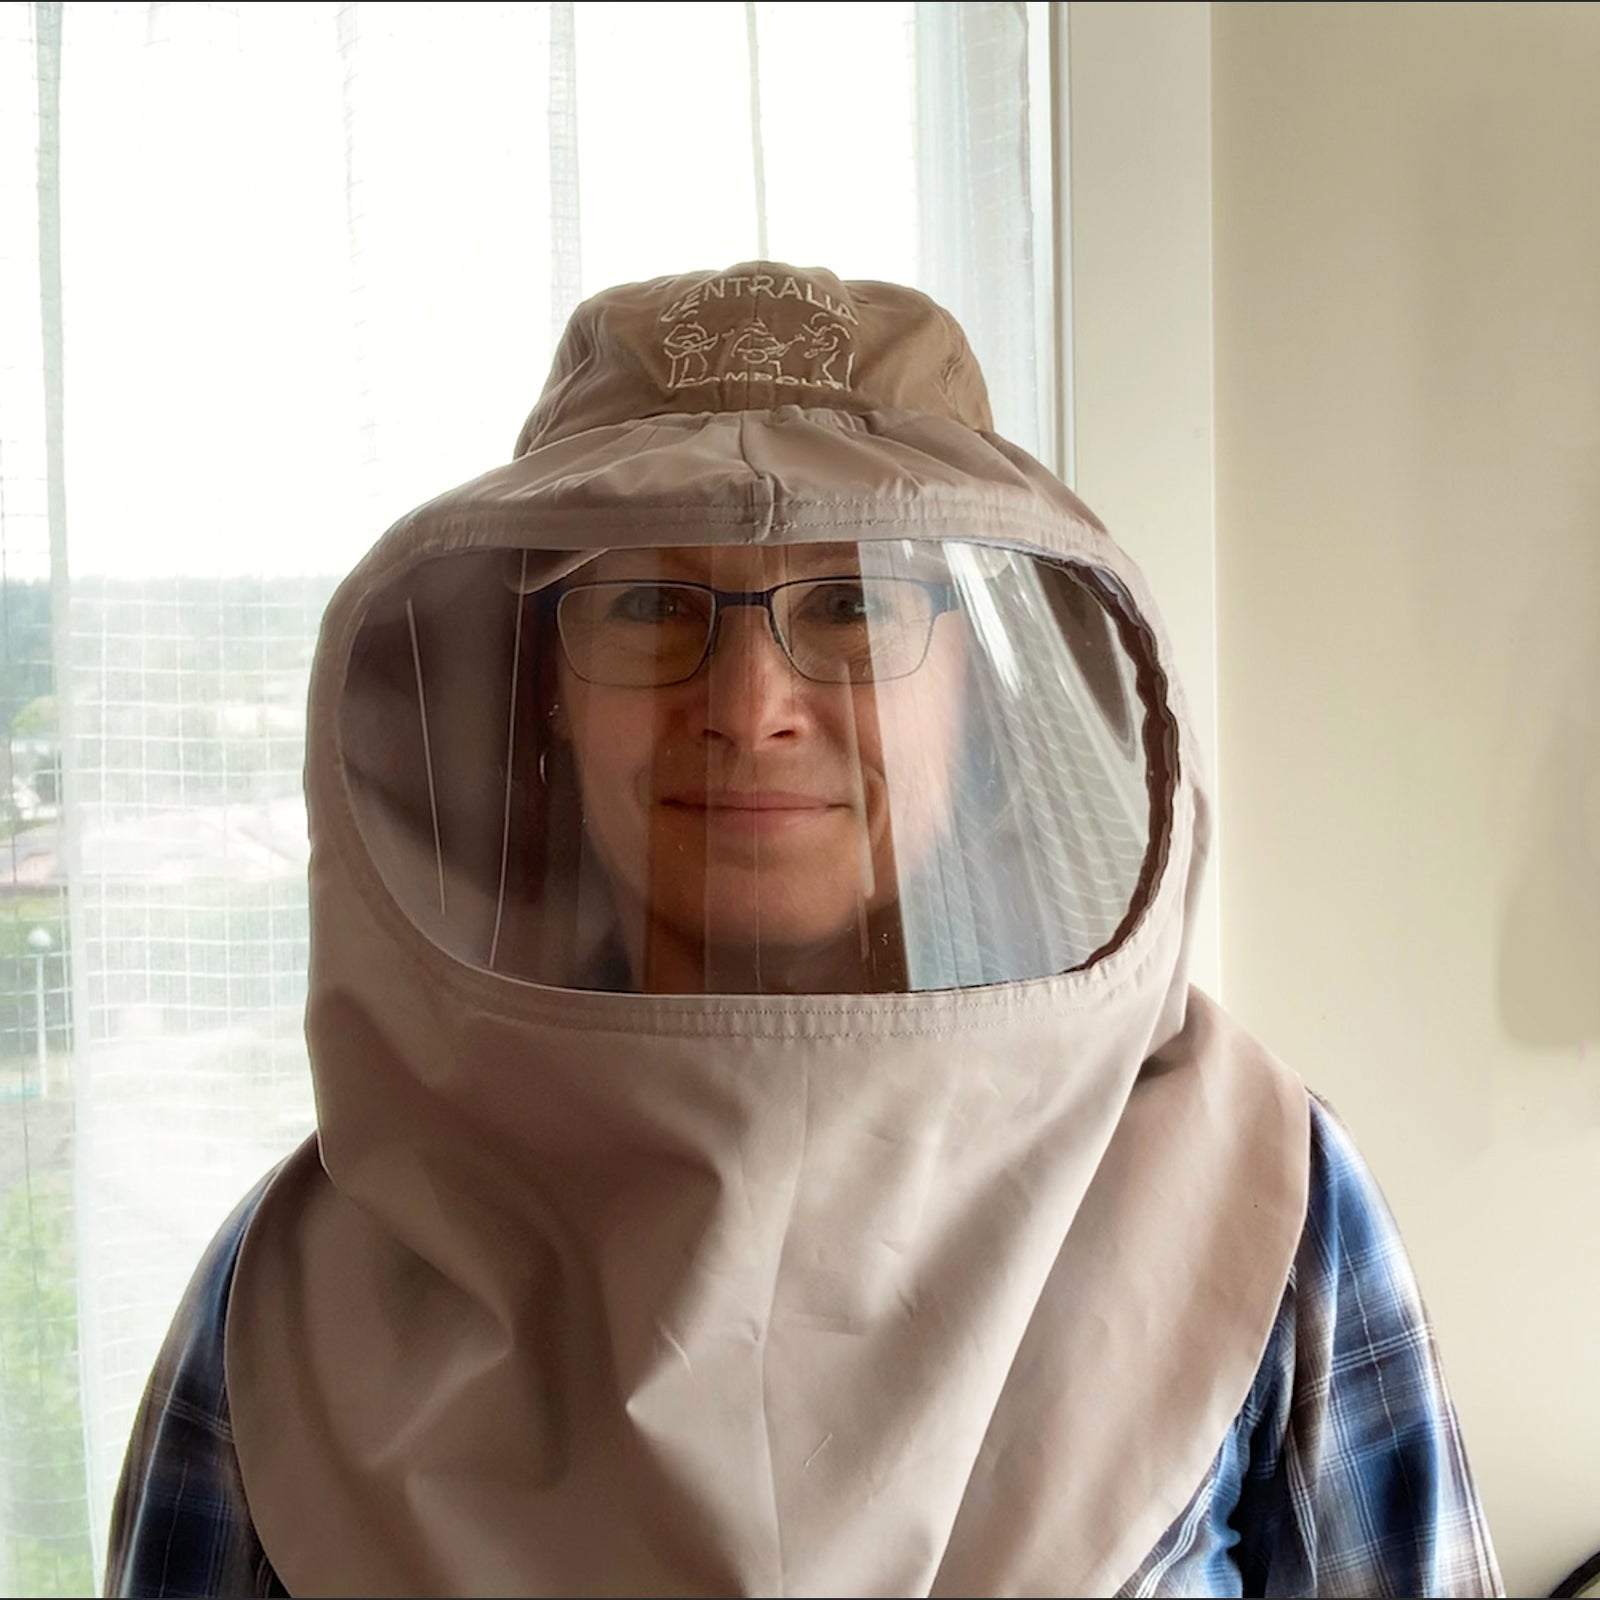
Enclosed Face Shield Hood Pattern Tutorial

I have been worrying a lot about our re-entry to school and daily life, since there are still so many questions about how contagious and dangerous the COVID-19 virus is. In an attempt to stop wallowing in my worry, I got to work coming up with a pattern for a fully-enclosed fabric hood and clear plastic face shield.
- Made from materials that are easily accessible and inexpensive.
- Uses a baseball cap as the support structure, which allows for a more comfortable and cool fit.
- Allows the wearer's face to be seen (important for lip reading and speech).
- Causes minimal glasses fog.
- Washable for repeated use.
- Has a double layer of fabric, with no gaps, to prevent germ transmission.
- NOT for hospital or medical use.
- NOT OSHA certified.
- Pattern is FREE to download and use for non-commerical, personal production.
Download the pattern to print HERE. This is a large (24"x14") page. If you have trouble tile printing it, try the multipage pdf HERE.
RESOUCES:
I purchased the plastic (polycarbonate) from TAP Plastics. One sheet can be cut into enough for 12 shields and costs around $13 for the sheet.


I would like to thank you for the pattern. Your instructions are so clear that I am able to make this hoodie! Before I started cutting any fabric, I covered myself with two layers of fabrics to test and see whether I do not get overheated. My partner really loves this hoodie to wear. I made and gave away face shields and cap/bucket hat shields for my family, friends, neighbors and essential workers including my doctors and nurses but this is the best design that can work for the people that I would like to protect. Thanks again for the patterns.
My apologies to everyone who posted comments that I didn’t respond to more quickly!! The blog comment function in Shopify is very confusing and I didn’t see that they needed to be approved until now.
Hopefully everyone who was having trouble with the printing has been able to download the 8 page version that I have added. You can link to it through the blog post as well as on the YouTube page.
Just curious as to why you didn’t sew in the plastic instead of using Velcro? I don’t think it could be machine washed but hand washed? Thanks for a great pattern and a very thorough tutorial!
Thank you for this design. I appreciate your providing the eight-page PDF for those of us whose printers do not print tiled posters.
Quick question. Why, other than the fact that it is attractive, did you decide to make the window curved? I was thinking that it would save a lot of fabrication time to cut a rectangle and then trim the corners to create an octagon. Is there a structural reason why you chose the curves?
Also, when you have time, it would be great to post photos modeling the side view and the back view.
Again, thank you for all the effort you have put into this design and into sharing it. I really think it has potential for teachers.
I wasn’t able to tile the pattern either – was there a solution? 100% doesn’t fix it – could you send the 8’pages as a pdf?
Leave a comment