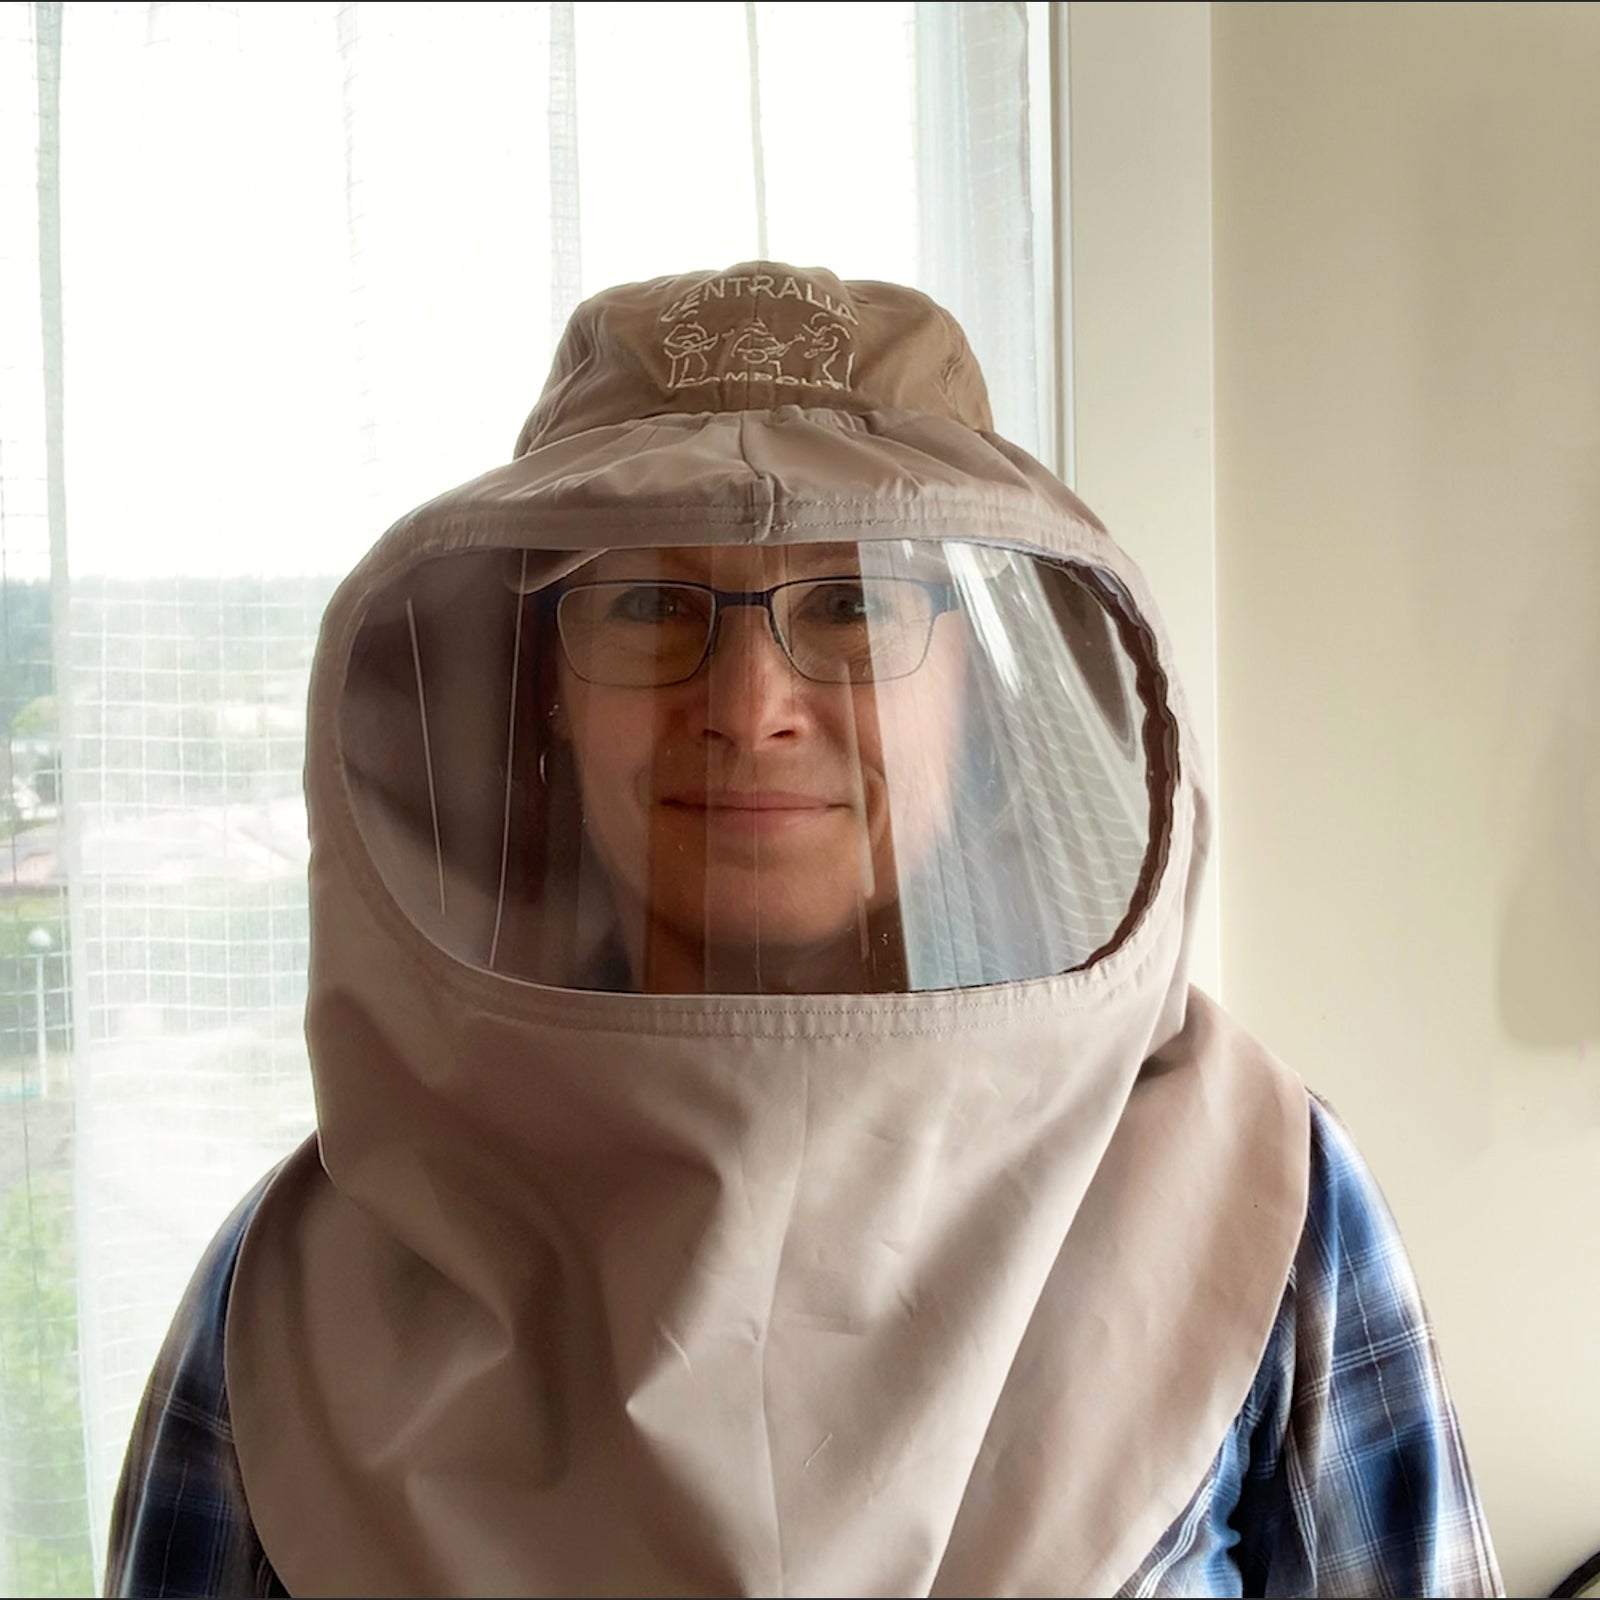
Enclosed Face Shield Hood Pattern Tutorial

I have been worrying a lot about our re-entry to school and daily life, since there are still so many questions about how contagious and dangerous the COVID-19 virus is. In an attempt to stop wallowing in my worry, I got to work coming up with a pattern for a fully-enclosed fabric hood and clear plastic face shield.
- Made from materials that are easily accessible and inexpensive.
- Uses a baseball cap as the support structure, which allows for a more comfortable and cool fit.
- Allows the wearer's face to be seen (important for lip reading and speech).
- Causes minimal glasses fog.
- Washable for repeated use.
- Has a double layer of fabric, with no gaps, to prevent germ transmission.
- NOT for hospital or medical use.
- NOT OSHA certified.
- Pattern is FREE to download and use for non-commerical, personal production.
Download the pattern to print HERE. This is a large (24"x14") page. If you have trouble tile printing it, try the multipage pdf HERE.
RESOUCES:
I purchased the plastic (polycarbonate) from TAP Plastics. One sheet can be cut into enough for 12 shields and costs around $13 for the sheet.


First I’d like to thank Seattle Sundries for sharing this pattern! I’m a middle school teacher in Ohio who had been looking for this exact type of shield.
If you are having trouble printing the PDF, this is what I had to do to set up my document and Epson printer. It may not help with other printers.
1. Click print.
2. When the dialogue box opens, click “More settings”
3. Change “Scale” to “Fit to printable area.” I know this seems counter-intuitive, but stay with me :)
4. In the same dialogue box, click “Print using system dialogue” at the bottom. This will open a “Print” window.
5. Click “Preferences” This will open a dialogue box “Printing Preferences” that has 3 tabs: Main, More Options, and Maintenance.
6. In the Main tab, change Document Size to “Use Defined.” If this opens another window, just close it.
7. Change Orientation to “Landscape”
8. Under Multi-Page choose “4×4 Poster”
9. Now go to the “More Options” tab
10. In Output Paper choose “Letter”
11. Make sure Document Size is “User Defined”
12. Choose “Zoom” and adjust to 100%
13. Click “OK” and this will close the Printing Preferences box.
14. Click “Print” in the Print box.
I hope this helps! Double-check the size of your print-out by measuring the distance between the center of the solid Cut Line and the center of the dotted Stitch Line near where the pattern says “stitch line with 1/2” seam allowance." The distance should be 1/2".
unable to print on my imac to my hp printer … I can only print one page , no poster, tile options . Help
Thank you for the printing help. I have the pattern printed out now.
I love this! Any chance you have a pattern to fit a small child?
I am only able to download one page of pattern. I use my Android and Cannon home printer. How do I get the full pattern. Thank you for sharing your pattern.
Leave a comment